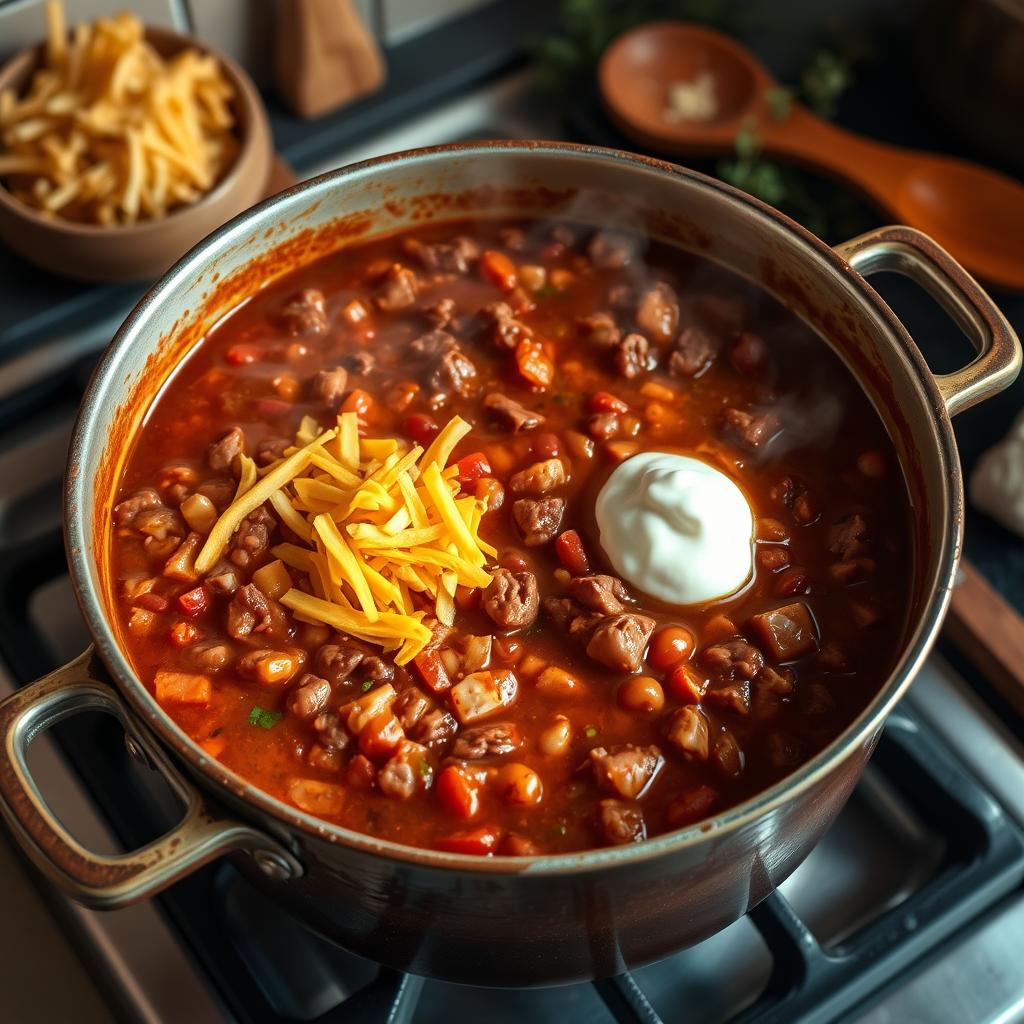
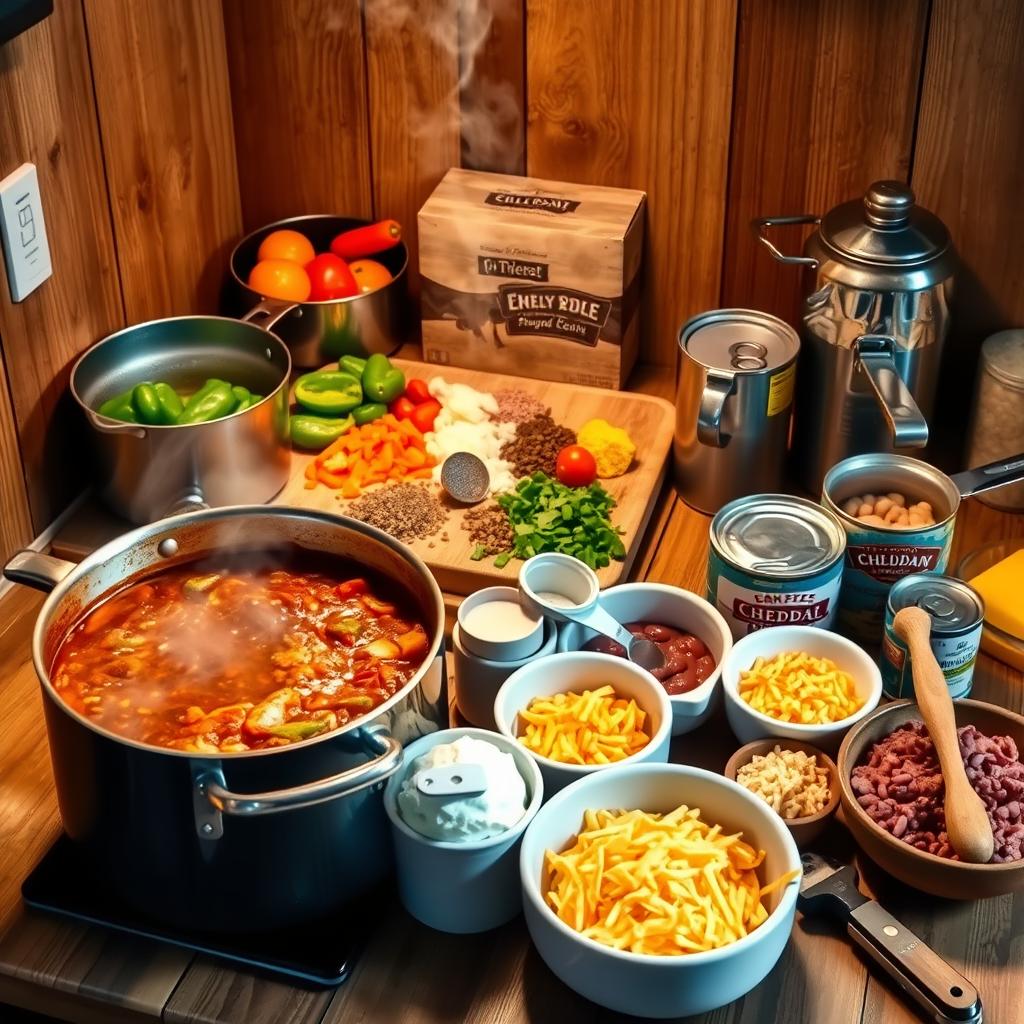
When the smell of spices and tender beef fills the kitchen, I feel a deep comfort. Chili has always been a favorite in my family. It’s a warm meal that brings us together, whether for a game day or a cozy night.
The rich flavors and the right toppings like cheddar cheese and sour cream make it a hit. This classic beef chili is loved by all.

Key Takeaways
- Hearty classic beef chili recipe with a flavorful spice blend
- Perfect for game day, casual gatherings, or cozy meals
- Includes cheddar cheese and sour cream toppings
- Freezer-friendly and can be made ahead
- Versatile dish that pairs well with cornbread, rice, tortilla chips, or baked potatoes
Understanding the Perfect Beef Chili Base
Making the perfect beef chili starts with the right ingredients. The base of a great chili is lean ground beef. Choose 85% lean ground beef for the best taste and texture without too much fat.
This leaner beef makes the chili hearty and filling without being too heavy.
Essential Aromatics and Base Vegetables
Next, add aromatic vegetables to the beef. Onions, garlic, and red bell peppers are key. They add a rich, savory taste.
When sautéed, these veggies release sugars, creating a sweet, caramelized base for the chili.
The Science Behind Baking Soda Tenderization
To make the lean ground beef tender, use baking soda. It keeps moisture in and helps the beef brown better. This makes the flavor richer.
“The combination of beef and aromatics creates a rich, hearty base for the chili.”
Knowing how each part of the chili base works together helps make a dish that’s full of flavor. Every spoonful is a satisfying, balanced taste.
Classic Beef Chili with Cheddar and Sour Cream: Step-by-Step Preparation
Making the perfect chili is an art. This classic beef chili recipe is a masterpiece. It has a great mix of spices, tender beef, and tasty ingredients. It will please even the pickiest eaters.
Start by mixing the 85% lean ground beef with salt and baking soda. Let it sit for 20 minutes. This lets the baking soda tenderize the meat. Chop onions, garlic, and bell peppers finely. You can use a food processor or chop them by hand for a rustic feel.
Heat a big pot or Dutch oven over medium-high heat. Add some oil and sauté the chopped veggies until they’re soft and smell good, about 5 to 7 minutes. Then, add the beef and cook it until it’s browned, breaking it up with a spoon.
- After the beef is browned, add the chili seasoning blend. This includes chili powder, cumin, dried oregano, and paprika.
- Add cornmeal to thicken the chili. Then, pour in beef broth, crushed tomatoes, and a bit of maple syrup for sweetness.
- Let the chili simmer, covered, for about 2 hours. Stir it every now and then until the flavors mix well and the sauce thickens.
- Before serving, remove any extra fat from the top. Add a squeeze of fresh lime juice to make the flavors pop.
To serve, pour the hot chili into bowls. Top it with shredded cheddar cheese, sour cream, and chopped scallions. Enjoy it with crusty bread or tortilla chips for a great meal.
“This is the best homemade chili I’ve ever tasted! The flavors are so well-balanced, and the texture is perfect. Definitely a new family favorite.”
This classic beef chili recipe is a must-have in your kitchen. It’s full of flavor, tender beef, and great toppings. Every bite is a delight, and the smell of spices will take you to chili heaven.
The Secret Spice Blend for Deep Flavor
Making the perfect chili is all about finding the right spice mix. The secret to deep, rich flavors is a special chili spice blend. This blend includes ancho chili powder and chipotle chili powder for a smoky, earthy taste. Spices like cumin, oregano, coriander, and smoked paprika add to the flavor, making it a symphony in your mouth.
Traditional Chili Powders and Their Uses
Ancho chili powder comes from dried poblano peppers and tastes sweet like raisins. Chipotle chili powder, made from smoked jalapeños, adds a bold, peppery flavor with fruity hints. Together, they create a complex taste that’s both rich and nuanced.
Complementary Spices for Depth
Other spices add even more to the blend. Cumin brings a deep earthy taste. Oregano and coriander add floral and citrus notes. Smoked paprika adds smokiness, making the flavors even more captivating.
Balancing Heat Levels
Finding the right heat level is key for a great chili. Adjusting the chipotle chili powder ratio lets you control the spice. For more heat, add cayenne pepper or hot sauce. For a milder taste, try molasses or fresh lime juice.
The secret to a memorable chili is in the spice blend. By mixing the right chili powders and spices, you can create a flavor that will have everyone wanting more.
Mastering the Cooking Process
Making the perfect beef chili is about mastering cooking techniques. Start by browning the ground beef for 10-12 minutes. Don’t drain the fat at first, as it adds depth and richness.
Once the beef is browned, add the aromatic spices. Cooking the spices with the meat releases their flavors. This includes chili powder, cumin, garlic powder, and other herbs or spices.
After the spices bloom, let the chili simmer. Cover the pot and simmer for at least 2 hours. This slow cooking melds flavors, creating a deep, satisfying taste.
If you want a thicker chili, simmer it uncovered towards the end. This lets some liquid evaporate, making it heartier. Adjust the consistency with water if needed.
The key to mastering chili cooking techniques is patience and detail. Stir the chili occasionally to prevent sticking and ensure even cooking. The longer it simmers, the more intense the flavor development becomes.

“The secret to the best chili is in the simmering – low and slow is the way to go for maximum flavor.”
The Art of Building Layers of Flavor
Making a delicious beef chili is all about building layers of flavor. Start by browning the meat, a key step that adds rich, savory notes. Searing the ground beef over high heat creates a deep, caramelized crust. This crust adds an unmatched depth of flavor to your chili.
Proper Meat Browning Techniques
To brown meat perfectly, work in batches and don’t overcrowd the pan. This ensures the beef sears, not steams, giving it a golden-brown texture. After browning, deglaze the pan with broth or wine. This step is crucial for scraping up browned bits, which are full of flavor.
Timing and Temperature Control
Timing and temperature are key in building flavor layers. Start by sautéing onions and garlic for 4-6 minutes until they’re soft. Then, add the browned meat and cook for 10-12 minutes, stirring now and then. Finally, add spices and seasonings and simmer for 2 hours. This lets the flavors blend beautifully.
By mastering flavor layering, you’ll make a chili that’s rich, complex, and satisfying. The secret is to brown the meat well, sauté the aromatics, and simmer slowly. This way, the flavors will meld and deepen with each step.
Essential Kitchen Tools and Equipment
For the perfect classic beef chili, the right tools and equipment are key. You’ll need a large pot or Dutch oven for cooking. A food processor is also crucial for chopping vegetables quickly.
A large pot or Dutch oven with 5-6 quarts capacity is a must. It prevents overflow. A food processor makes chopping onions, peppers, and other veggies fast and easy.
A sturdy wooden spoon is vital for stirring and breaking up ground beef. It helps achieve the right texture. Accurate measurements are important, so have reliable measuring cups and spoons ready.
- Large pot or Dutch oven (5-6 quart) for cooking
- Food processor for chopping vegetables quickly
- Wooden spoon for stirring and breaking up meat
- Measuring cups and spoons for accurate ingredient portions
- Large bowl for mixing beef with baking soda
- Sharp knife for manual chopping if not using a food processor
- Ladle for serving and skimming fat
Remember a large bowl for mixing beef with baking soda. This tenderizes the meat. A sharp knife is also needed for chopping without a food processor. A ladle is useful for serving and removing excess fat.
With these chili cooking equipment, you’re ready to make a delicious chili. The Dutch oven for chili and food processor are especially important. They make preparing the chili easier and ensure great flavor every time.

Perfecting Your Toppings Game
Elevate your classic beef chili with the right toppings. The perfect mix of garnishes can turn a good dish into a great one. It’s all about finding the right balance.
Cheese Selection and Preparation
No chili is complete without cheddar cheese. Choose freshly shredded cheddar for the best melt. The creamy cheddar cheese complements the chili’s bold flavors.
Complementary Garnishes
There’s more to chili than just cheddar cheese and sour cream. Add vibrant garnishes for extra flavor. Here are some great options:
- Sliced green onions for a refreshing crunch
- Chopped cilantro for a burst of herbal freshness
- Lime wedges to add a bright, acidic note
- Diced avocado for a creamy, cool contrast
For extra texture, try crushed corn chips or diced jalapeños. They add crunch and a bit of heat.
Get your toppings ready while the chili cooks. This way, they’re ready to be arranged beautifully when it’s time to serve. Letting guests choose their toppings makes the experience personal.
The secret to great chili toppings is balance. Mix flavors and textures to create a dish that’s both harmonious and indulgent.
Storage Tips and Make-Ahead Options
Homemade chili is even better the next day. The flavors blend together beautifully. Here are some tips for storing and making ahead.
Storing leftover chili is easy. Just put it in airtight containers and keep it in the fridge for 3-4 days. When reheating, add a bit of water to get the right consistency. Warm it up gently on the stovetop over medium heat.
Freezing chili is another great option. It keeps for up to 3 months in portions. Cool it down first, then put it in freezer-safe containers or bags. Thaw it in the fridge overnight before reheating. This is perfect for busy nights or when you have unexpected guests.